用Rust语言编写Stm32F103c8t6程序
需要的设备
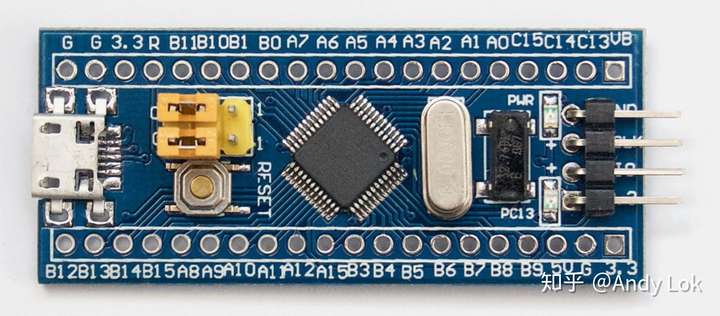
STM32f103c8t6单片机一个
ST-Link V2 仿真器
杜邦线
面包板 [可选]


需要安装的软件
- shell
rustup target install thumbv7m-none-eabi - shell
sudo apt install openocd gdb-multiarch binutils-arm-none-eabi
先让项目跑起来 - blink Date: 2021-1-31
连接硬件 stm32 与stlink连接, 并将 stm32 boot-1 置 1 boot-0 置 1
在项目路径下运行指令,配置 gdb
shell
echo "set auto-load safe-path $(pwd)" >> ~/.gdbinit新建一个rust项目,修改Cargo.toml 增加如下配置:
toml
[dependencies]
embedded-hal = "0.2.3"
nb = "0.1.2"
cortex-m = "0.6.2"
cortex-m-rt = "0.6.11"
# Panic behaviour, see https://crates.io/keywords/panic-impl for alternatives
panic-halt = "0.2.0"

[dependencies.stm32f1xx-hal]
version = "0.6.1"
features = ["rt", "stm32f103", "medium"]
在项目根路径添加如下文件
.cargo/config
[target.thumbv7m-none-eabi]
runner = 'gdb-multiarch'
rustflags = [
    "-C", "link-arg=-Tlink.x",
]

[build]
target = "thumbv7m-none-eabi"
memory.x
/* Linker script for the STM32F103C8T6 */
MEMORY
{
  FLASH : ORIGIN = 0x08000000, LENGTH = 64K
  RAM : ORIGIN = 0x20000000, LENGTH = 20K
}.gdbinittarget remote :3333 monitor arm semihosting enable # # send captured ITM to the file itm.fifo # # (the microcontroller SWO pin must be connected to the programmer SWO pin) # # 8000000 must match the core clock frequency # monitor tpiu config internal itm.fifo uart off 8000000 # # OR: make the microcontroller SWO pin output compatible with UART (8N1) # # 2000000 is the frequency of the SWO pin # monitor tpiu config external uart off 8000000 2000000 # # enable ITM port 0 # monitor itm port 0 on load stepopenocd.cfgsource [find interface/stlink-v2.cfg] source [find target/stm32f1x.cfg]
修改main.rs文件:
rust
//! Blinks an LED
//!
//! This assumes that a LED is connected to pc13 as is the case on the blue pill board.
//!
//! Note: Without additional hardware, PC13 should not be used to drive an LED, see page 5.1.2 of
//! the reference manual for an explanation. This is not an issue on the blue pill.

#![deny(unsafe_code)]
#![no_std]
#![no_main]

use panic_halt as _;

use nb::block;

use cortex_m_rt::entry;
use embedded_hal::digital::v2::OutputPin;
use stm32f1xx_hal::{pac, prelude::*, timer::Timer};

#[entry]
fn main() -> ! {
    // Get access to the core peripherals from the cortex-m crate
    let cp = cortex_m::Peripherals::take().unwrap();
    // Get access to the device specific peripherals from the peripheral access crate
    let dp = pac::Peripherals::take().unwrap();

    // Take ownership over the raw flash and rcc devices and convert them into the corresponding
    // HAL structs
    let mut flash = dp.FLASH.constrain();
    let mut rcc = dp.RCC.constrain();

    // Freeze the configuration of all the clocks in the system and store the frozen frequencies in
    // `clocks`
    let clocks = rcc.cfgr.freeze(&mut flash.acr);

    // Acquire the GPIOC peripheral
    let mut gpioc = dp.GPIOC.split(&mut rcc.apb2);

    // Configure gpio C pin 13 as a push-pull output. The `crh` register is passed to the function
    // in order to configure the port. For pins 0-7, crl should be passed instead.
    let mut led = gpioc.pc13.into_push_pull_output(&mut gpioc.crh);
    // Configure the syst timer to trigger an update every second
    let mut timer = Timer::syst(cp.SYST, &clocks).start_count_down(1.hz());

    // Wait for the timer to trigger an update and change the state of the LED
    loop {
        block!(timer.wait()).unwrap();
        led.set_high().unwrap();
        block!(timer.wait()).unwrap();
        led.set_low().unwrap();
    }
}
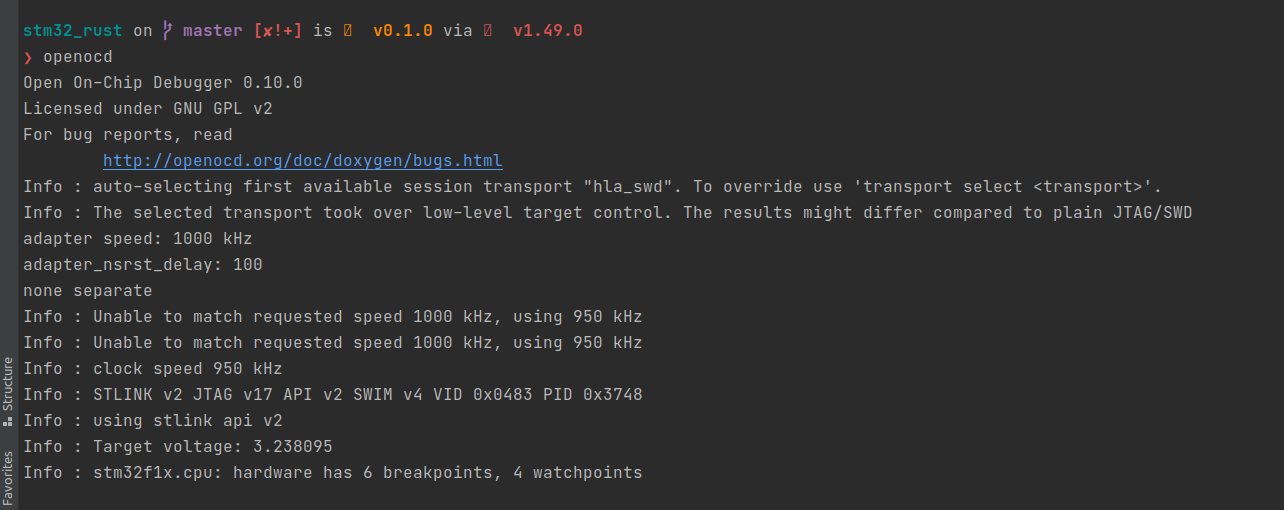
好了,项目的准备工作已经完成了. 运行 cargo build 构建 target 文件, 打开终端 运行 openocd

代开另外一个终端运行 cargo rust

输入任意字符, 输入 c 运行blink

这时单片机应该已经运行起来了
